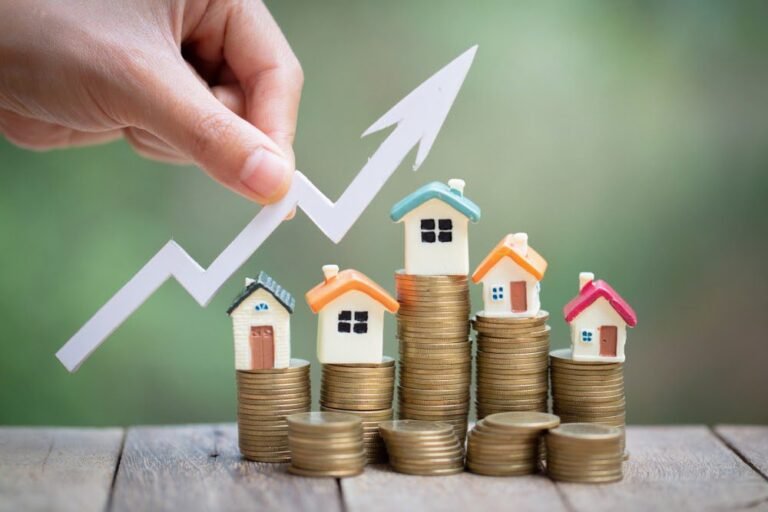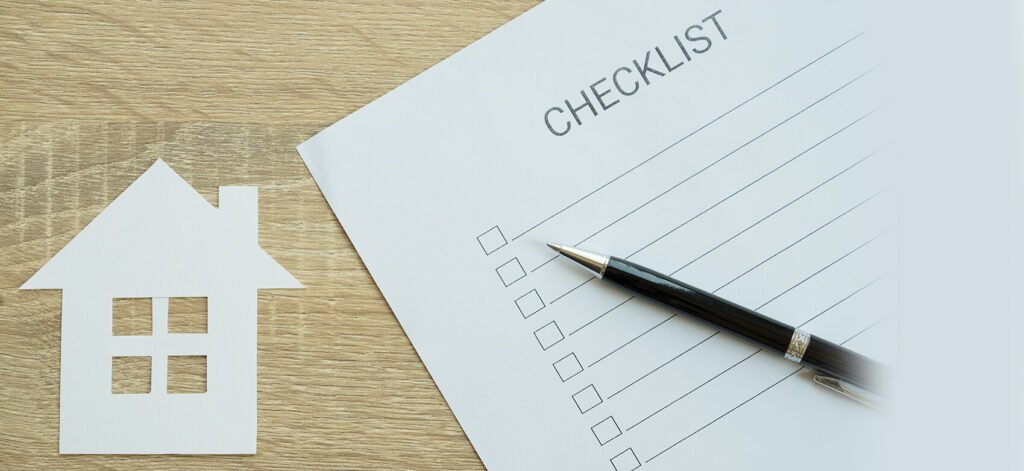
Buying a home is a major milestone—and one of the biggest financial decisions most of us will ever make. Whether you’re just starting your search or you’re deep in the process, having a detailed checklist can help you stay organized, focused, and stress-free. I’ve been through this journey myself, and trust me, having a step-by-step guide made all the difference. In fact, I created this checklist during my own homebuying experience when I felt overwhelmed trying to keep track of everything from paperwork to paint colors.
Below is a comprehensive, printable homebuyer’s checklist covering every major step: from budgeting and financing to final walkthrough and closing. Let this be your go-to guide to ensure nothing falls through the cracks.
Phase 1: Financial Preparation
- Check your credit score – Request your report from all three bureaus and correct any errors.
- Set your budget – Know how much home you can afford, including taxes, insurance, and maintenance costs.
- Get pre-approved for a mortgage – Shop around for lenders and secure a pre-approval letter.
- Plan your down payment – Decide how much you can put down and explore any down payment assistance programs.
- Estimate closing costs – Be sure to budget an additional 2–5% of the purchase price for closing expenses.
My Experience Tip: I underestimated the closing costs the first time around—factor in 2–5% of the purchase price so you’re not caught off guard!
Phase 2: House Hunting
- Find a real estate agent – Choose someone who is knowledgeable about your target neighborhoods.
- Make a list of must-haves and deal-breakers – Consider size, layout, school districts, commute times, and future plans.
- Tour homes – Take photos, notes, and compare features to help with your decision-making.
- Research neighborhoods – Visit the area at different times of the day and week, and talk to current residents.
- Consider environmental risks – Check zoning maps, flood zones, and proximity to busy roads or industrial areas.
My Experience Tip: I almost put in an offer on a house before realizing it was near a floodplain. Always double-check local zoning maps and flood risks.
Phase 3: Making an Offer
- Review comparable sales – Analyze recently sold homes in the area to determine a fair offer.
- Determine your offer strategy – Lean on your agent to guide you based on market conditions.
- Include key contingencies – Common ones include inspection, appraisal, and financing contingencies.
- Submit your offer – Ensure all terms are clearly outlined and be prepared for possible negotiation.
- Negotiate – Be flexible but stay within your budget and comfort zone.
My Experience Tip: Our first offer was rejected because we waived the inspection contingency. Never skip inspections—it’s your safety net.
Phase 4: Home Inspection & Appraisal
- Hire a licensed inspector – Choose someone with good reviews and attend the inspection yourself.
- Review the inspection report – Use it to request repairs or a price adjustment if necessary.
- Order the appraisal – Your lender will coordinate this, but stay in the loop to ensure it happens on time.
- Address appraisal issues – If the home doesn’t appraise for the purchase price, discuss next steps with your agent.
My Experience Tip: The inspector found a hidden plumbing issue in the crawlspace. It didn’t look serious at first, but it would’ve cost thousands if we hadn’t caught it.
Phase 5: Loan Approval & Closing Preparation
- Submit all final documents to your lender – This includes updated pay stubs, bank statements, and tax returns.
- Lock in your mortgage rate – Monitor rates and decide when to lock with your lender’s help.
- Secure homeowner’s insurance – Compare policies and have it in place before closing.
- Schedule your final walkthrough – Make sure all agreed-upon repairs have been completed.
- Review the closing disclosure – Double-check all fees, interest rates, taxes, and other costs.
- Arrange your closing funds – Wire the funds or bring a certified check for your down payment and closing costs.
My Experience Tip: My final walkthrough revealed missing appliances that were listed in the sale. Don’t rush—take your time during the walkthrough.
Phase 6: Closing Day
- Bring identification and necessary documents – Typically a valid photo ID and any final paperwork.
- Sign all closing documents – This includes loan papers, disclosures, and the deed.
- Receive the keys – Once everything is signed and funds are transferred, the home is officially yours!
My Experience Tip: I brought my checklist and a folder with every document. The notary was impressed, and I avoided any last-minute hiccups.
Bonus: Post-Move To-Dos
- Change your address – Notify USPS, banks, insurance companies, and subscriptions.
- Set up utilities – Ensure all utilities (electricity, gas, water, internet) are transferred or activated.
- Schedule regular maintenance – Create reminders for HVAC servicing, pest control, and roof inspections.
- Meet your neighbors – Introduce yourself and build a sense of community in your new area.
Final Thoughts
Buying a home can feel overwhelming, but with the right tools and a bit of preparation, it becomes much more manageable. Keep this checklist handy, trust your instincts, and don’t be afraid to lean on professionals. From one homeowner to another: enjoy the journey, take notes, and don’t forget to celebrate every little win along the way.
Happy homebuying!